The topic Docker bypasses your firewall silently, and most home labs don’t realize it is currently the subject of lively discussion — readers and analysts are keeping a close eye on developments.
This is taking place in a dynamic environment: companies’ decisions and competitors’ reactions can quickly change the picture.
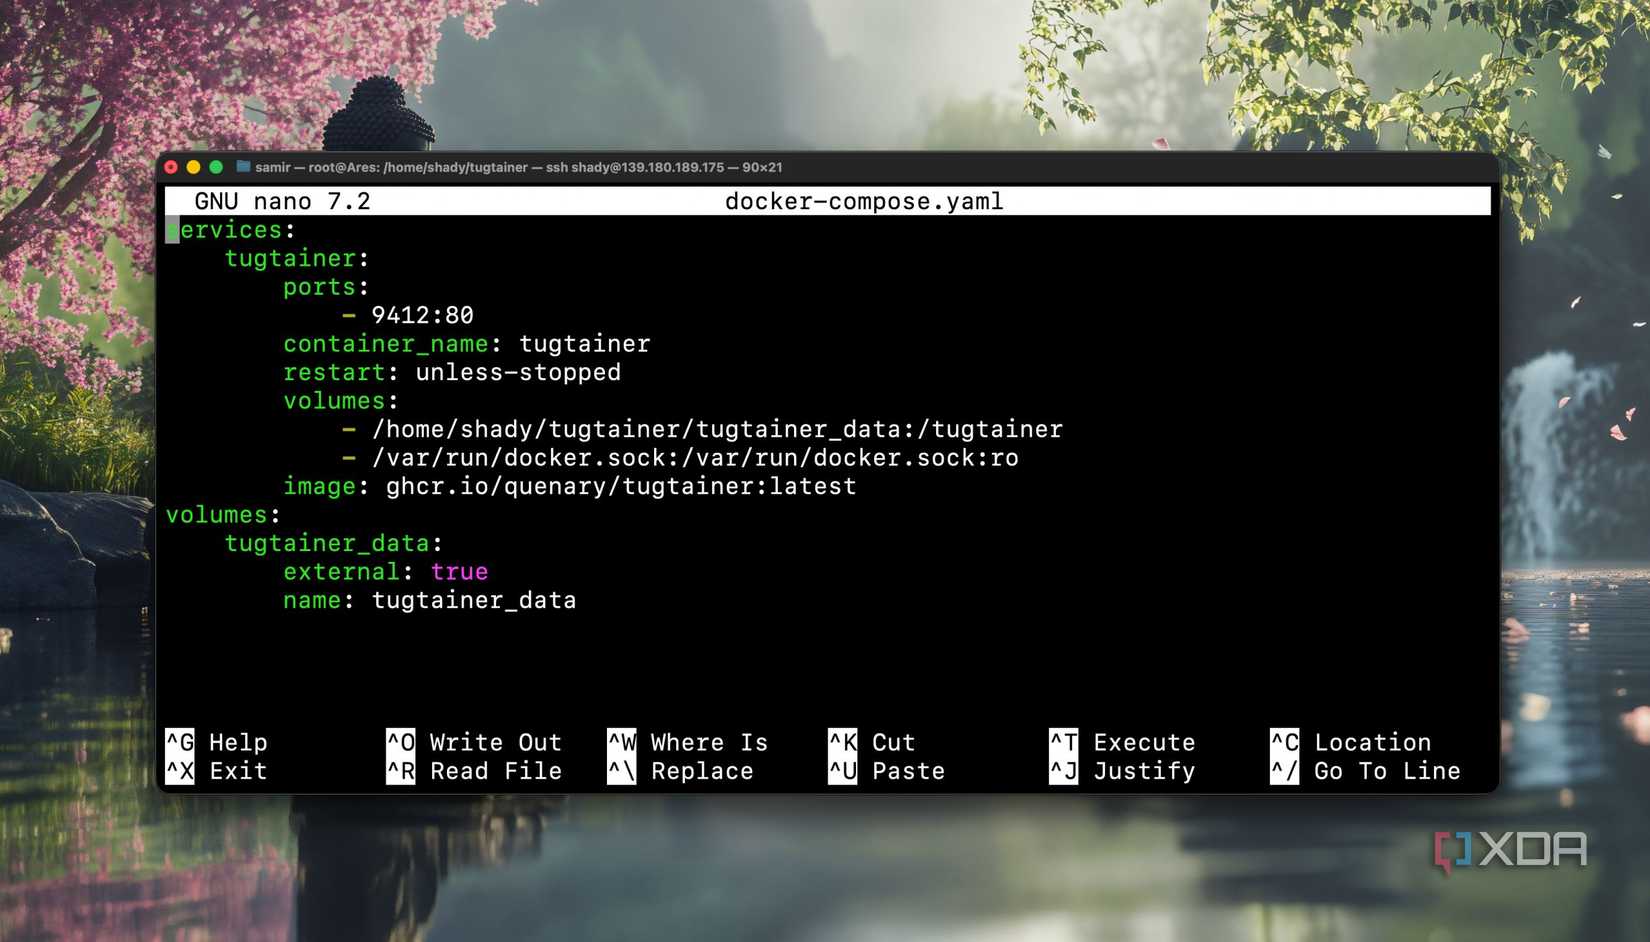
The simplicity of spinning up containers in Docker is one of home lab’s few simplicites. Find a service that looks interesting, pull the image, write a quick Compose file or a docker run command, publish a port, hit the web UI in a browser. It takes five minutes to go from an idea to a running service.
The trouble is that firewall you set up on the host—UFW with default-deny, a few explicit allow rules—never gets consulted for the traffic flowing into your new container. The service is reachable from your laptop, your phone, the smart TV, and that IoT bulb you’ve been meaning to put on a separate VLAN. “ufw status” still says “active”, and it’s not reporting incorrectly, which is the whole problem. Docker makes spinning up services effortless, but it also creates bad networking as a result of its simplicity.
Docker makes app deployment easier, but where should you host your containers?

The mechanism in which Docker changes your firewall isn’t that malicious, but it sacrifices security for simplicity. When you publish a port with -p, Docker inserts its own rules into iptables to handle the NAT and forwarding required to get traffic from the host into the container. Those rules live in a chain called DOCKER, which sits inside the FORWARD chain. UFW, by contrast, primarily operates on the INPUT chain and assumes traffic destined for local services flows through it.
Traffic to your published container ports doesn’t take that path. It hits the host’s network interface, gets matched by Docker’s NAT rules, and is forwarded into the container’s network namespace without UFW’s INPUT rules ever being consulted. The practical consequence is that ufw deny 8080 does precisely nothing to a container published on 8080. UFW reports “active”, but your service is wide open. Both statements are simultaneously true, and therein lies the problem.
Walk through almost any “getting started with self-hosting” guide, and you’ll see the same recommendations. The recommended way to expose a service is -p host_port:container_port, with no qualifiers. Compose files copy-pasted from project READMEs will often publish to 0.0.0.0 by default, meaning every interface on the host, reachable from every device on the network. The friction that should exist around exposing a service is eliminated.
A beginner builds a stack of ten services this way, each independently reachable from any device on the LAN, and assumes the host firewall is the last line of defense. Sometimes there’s a Tailscale or WireGuard tunnel in the picture, and the user assumes the VPN is gating access when really the LAN-side exposure was open the whole time. That smart TV can hit that service directly, as can your IoT devices and anything else connected to your network. All it takes is one bad actor device, and your self-hosted service turns into a huge vulnerability.
Docker was built for developers running containers on workstations, where publishing a port to localhost-and-beyond is a sensible default. Asking the platform to interrogate every user about their network topology before exposing a service doesn’t align with the developer experience that made Docker successful in the first place, so it makes sense that this is the default.
You could make the argument that UFW isn’t really the right tool for container traffic anyway, and that the correct approach is reverse proxies and intentional segmentation. Expecting a host firewall to govern container traffic is a conceptual error on the user’s part, and reading the documentation would solve this issue entirely.
Docker may be the most popular containerization platform, but Podman packs a lot of useful features
The single highest-leverage change is binding published ports to localhost when a service is only meant to be reached through a reverse proxy: -p 127.0.0.1:8080:80 instead of -p 8080:80. Now the container is reachable from the host itself, but not from anything else on the network. Pair that with a reverse proxy like Caddy or Nginx and you have a single intentional point of exposure.
If you want host-firewall enforcement to actually apply, Docker provides the DOCKER-USER chain specifically for user-defined rules that aren’t clobbered by Docker’s automation. You can write iptables rules there directly, or use ufw-docker, a community project that automates the integration between UFW and Docker’s chains. It works well and is widely adopted, but it’s a third-party tool, so your mileage may vary.
Docker’s simplicity is what gets novice users into trouble in terms of network security, but it’s not worth throwing the baby out with the bath water. Every published port should be done with caution, and in Docker tutorials, that’s not exactly spelled out for the novice user very well. Bind services to localhost when they only need a reverse proxy, use the DOCKER-USER chain when you want real filtering, and don’t assume “ufw status: active” means your containers are protected. Docker makes home lab services wonderfully easy to spin up, but securing them still has to be intentional.