The topic I stopped underestimating my 3D printer after seeing 4 amazing features it could… is currently the subject of lively discussion — readers and analysts are keeping a close eye on developments.
This is taking place in a dynamic environment: companies’ decisions and competitors’ reactions can quickly change the picture.
Most people might get an Ender 3 or a Bambu Labs A1, print a handful of low-poly figures, maybe a headphone stand, and eventually relegate the printer to a corner of the room. There’s a persistent myth in the tech and maker spaces that desktop FDM printers are inherently limited, as though there’s a cap on what you can and cannot print. Most potential buyers presume they are strictly for prototyping rough, blocky shapes, and if you want real precision or a professional finish, you need to shell out for a messy resin setup or outsource the job to a commercial service with DMLS machines.
That simply isn’t true. If you actually dig into your slicer settings and spend some time refining your CAD models, even a budget FDM 3D printer can deliver OEM-tier results without the artifacts like layer line, zits, bobs, and visible seams. Here are four such design features that cemented my confidence in the printer’s ability.
There’s no substitute for ingenuity and limitless personalization
A knurled finish is the hallmark of high-end lathe machining on premium hardware like knobs, thumbscrews, and tiny dials. The tiny, intersecting diamond or straight ridges increase the surface area of contact with your fingers, boosting static friction and, in turn, improving your grip. Because the geometry looks incredibly complex and is created using pressurized plastic deformation on a lathe, most would believe an additive process cannot match that finish.
I recently modeled a custom 52mm lens filter holder for my Sony camera and needed a tactile outer ring to prevent it from slipping out of my hand when swapping lens filters in the field. Nailing the helix pitch and patterning the swept extrusion in CAD creates identical geometry, and translating that sharpness to the print bed is all about cooling and speed. You have to slow your outer wall speed way down to 20 or 30mm/s and cool the layer immediately as it goes down. When dialed in, the resulting texture rivals machined aluminum or injection-molded plastic, completely elevating the feel of the part. I should caution you that sub-millimeter knurling might be challenging with larger nozzle sizes and layer heights.
Continuing with the camera gear theme, getting that 52mm filter to screw onto a printed part requires a small 0.75mm thread pitch. Stoop down to a 0.15mm layer height, and that becomes possible too, no matter the filament. Such threads outright dispel the notion most newcomers might have about printers, and how they might only succeed with coarse threads as you’d find on a soda bottle. The prevailing wisdom is that you can’t print fine mechanical threads because the layer line resolution just isn’t there, and that you would be better off tapping threads or using heat-set inserts.
The secret sauce to resolving a 0.75mm thread pitch lies in tolerances and the Horizontal expansion Hole XY compensation or Hole XY compensation setting in your slicer. Setting it to a negative value like -0.1mm will ensure threads don’t fuse together and print too tightly. Also, adding a chamfer to the thread start helps the mating part catch easily without stripping the printed profile. Finally, and crucially, always print the threaded section vertically. You want the layer lines running perpendicular to the thread path so they can handle the shear stress of being tightened down without snapping off. This is easier to implement in parts you’re designing yourself, because you control the design features and part orientation work together.
Moving away from mechanical tolerances, I was recently printing desk accessories with several flat faces, and I realized that plain vertical PLA with shiny walls only accentuates the layer lines and prompts questions like “Is that 3D printed?” from observers. After a while of printing these plain parts, I craved variety in surface finish that isn’t tacky and doesn’t immediately scream “FDM.”
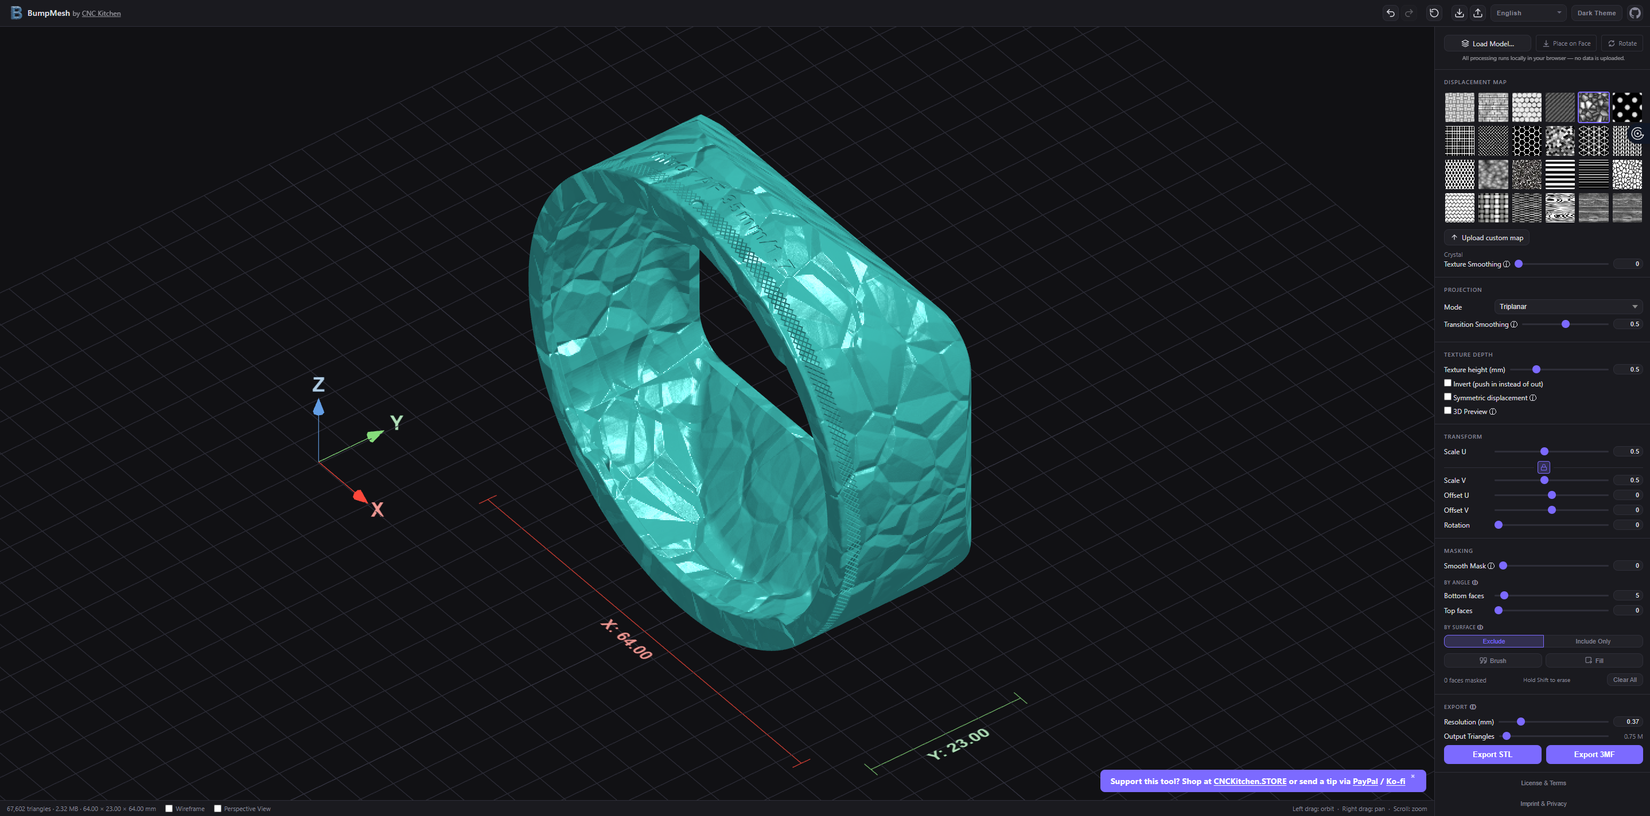
Fuzzy Skin is an experimental slicer setting that introduces random jitter to the outer perimeters of your print, creating a textured, matte finish. It masks the Z-seam and layer lines well, making a 3D-printed bracket look like premium textured ABS. You can tweak the thickness and density of the fuzz to your liking, and a subtle thickness setting around 0.1 to 0.3mm would yield a bead-blasted appearance. Alternatively, you can apply a bump mask to the STL right before printing using free tools like BumpMesh from CNC Kitchen. Instead of wrecking your printer’s belt tension, these changes lend a premium appearance to otherwise boring and linear prints, making them stand out.
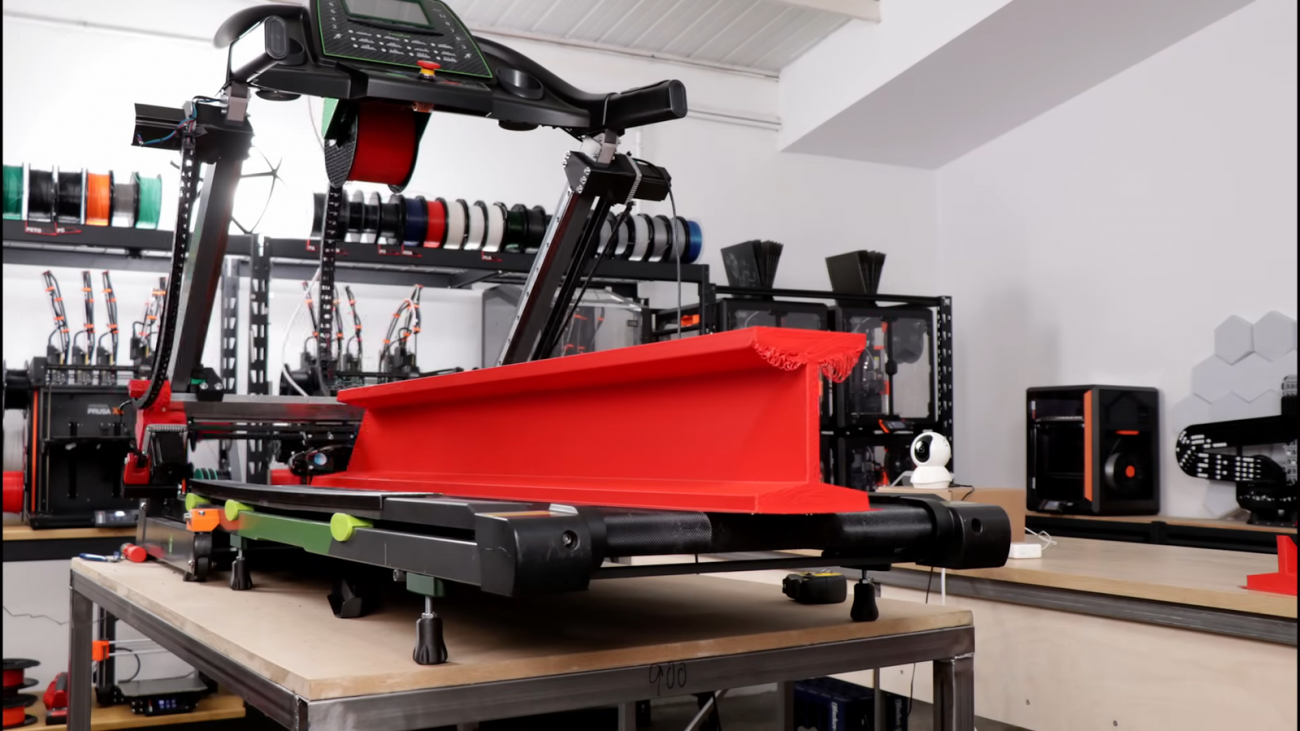
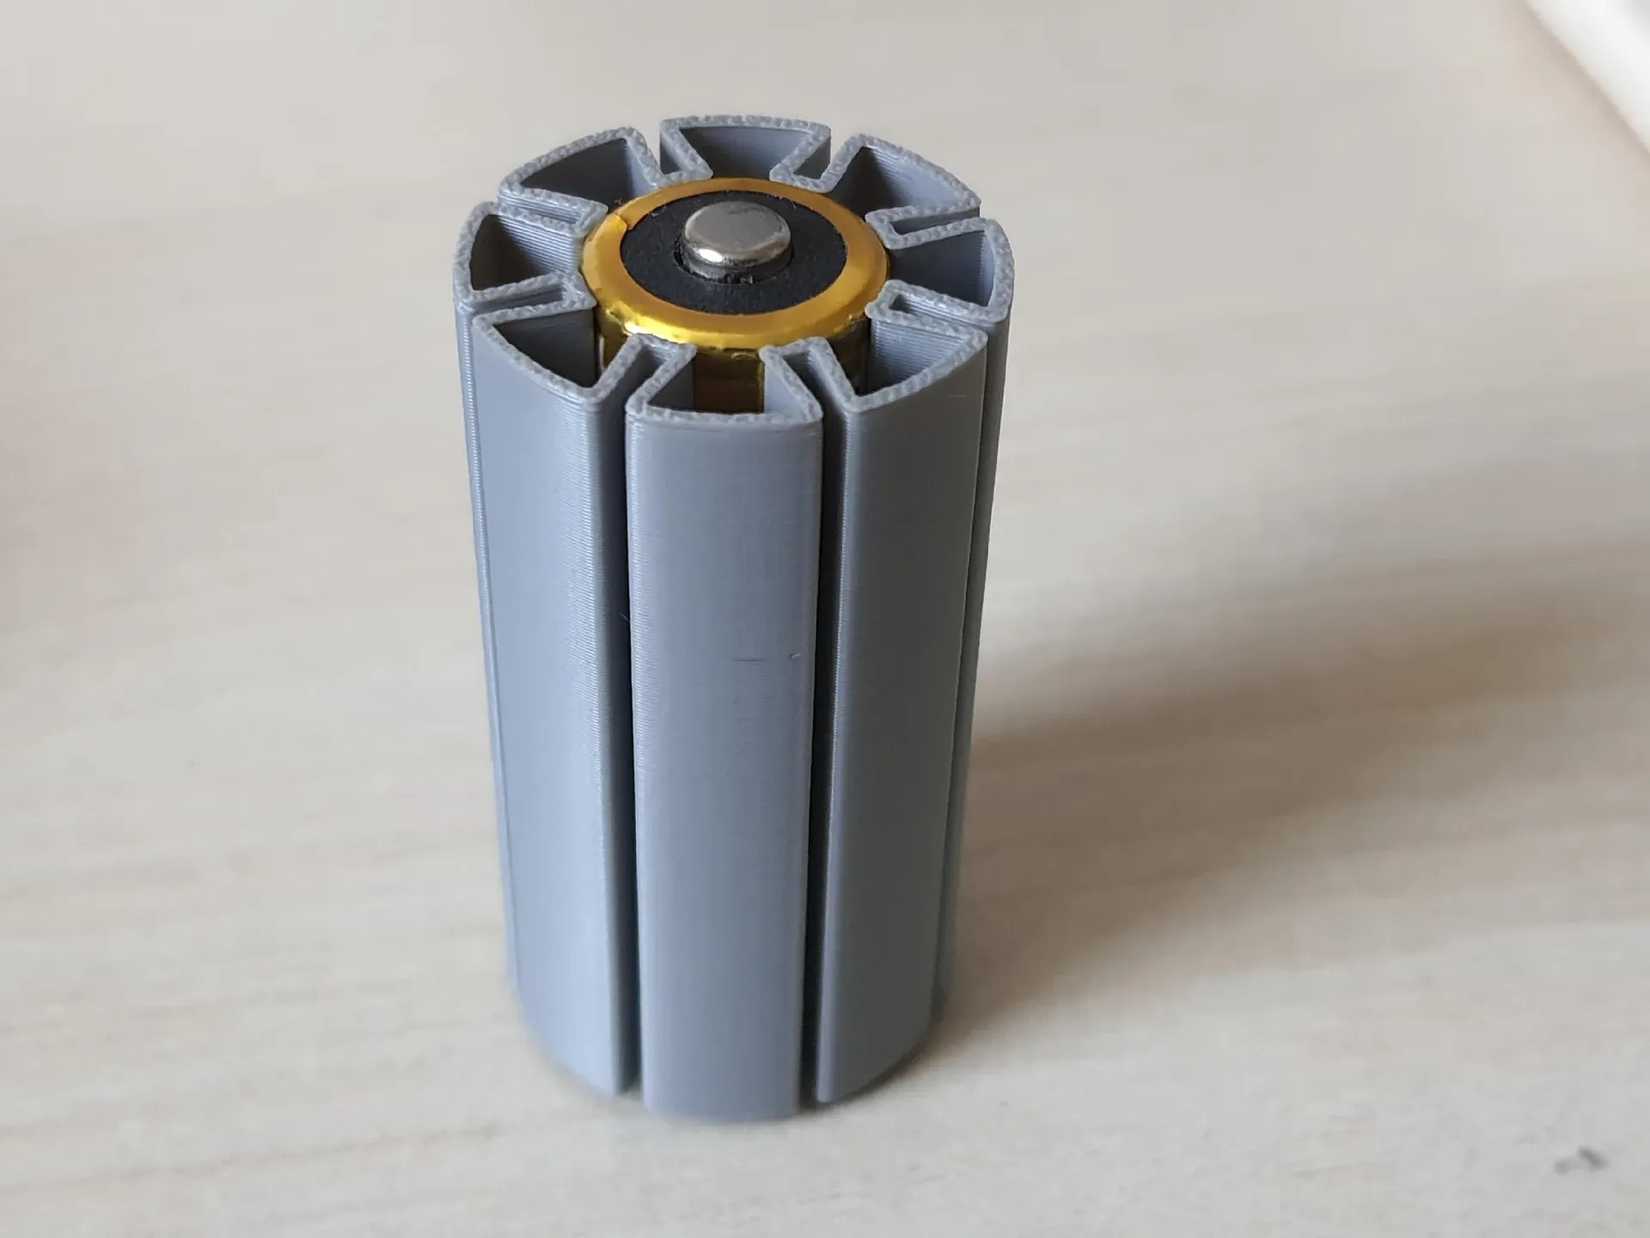
Yet another slicer setting that unlocks unforeseen potential in even the most basic 3D printers in Vase Mode. It has exploded in popularity because the extruder never stops and never retracts, printing a single continuous upward spiral. It breaks conventional operation rules where the extruder finishes a layer, retracts the filament, moves up the Z-axis, and starts the next layer, leaving a visible seam in its wake. You could randomize the layer start point and hide the seam, but I prefer Vase mode for customized workspace lighting diffusers and lightweight desk storage bins.
The method cuts print time but only outputs a single wall, which sounds flimsy. However, you can easily counteract the weakness by adjusting the geometry, making it strong the same way a creased sheet of paper holds shape better than a flat one. If you design the part with corrugations, sweeping curves, or geometric ridges, that single wall becomes remarkably rigid. Plus, your extruder will push more plastic if you set the line width to 0.6 or 0.8mm with a 0.4mm nozzle, helping structural integrity without sacrificing the speed and seamless finish of the spiralized toolpath.
The ceiling for desktop 3D printing is much higher than most people think. Your printer is only as limited as the G-code you feed it, and understanding the intersection of CAD geometry and slicer manipulation can produce remarkably unique results that are both functional and aesthetically pleasing.