The topic Storage sense automatically cleans your PC, and it’s doing more than you realize is currently the subject of lively discussion — readers and analysts are keeping a close eye on developments.
This is taking place in a dynamic environment: companies’ decisions and competitors’ reactions can quickly change the picture.
Every now and then, you might run into a situation where your computer is full of files you no longer need and you need to clean up some space. You’ve probably looked up how to free up space on your PC before and found all kinds of solutions, whether it’s a third-party app or using the built-in Disk Cleanup tool in Windows 11 (and earlier versions).
But the thing is, you don’t actually need to do all this yourself. There’s a feature called Storage sense on Windows 11 that can clean up your drive automatically whenever necessary so you don’t run out of space for no reason. And it’s a better feature than you might think.
There are a few aspects to Storage sense that are worth talking about, but the most central part of it is deleting your temporary files. This includes things like thumbnails, Windows Update cached files, and other temporary files that can sometimes be used to speed up loading, but may not actually be necessary anymore. The kind of files you’d manually delete with Disk Cleanup.
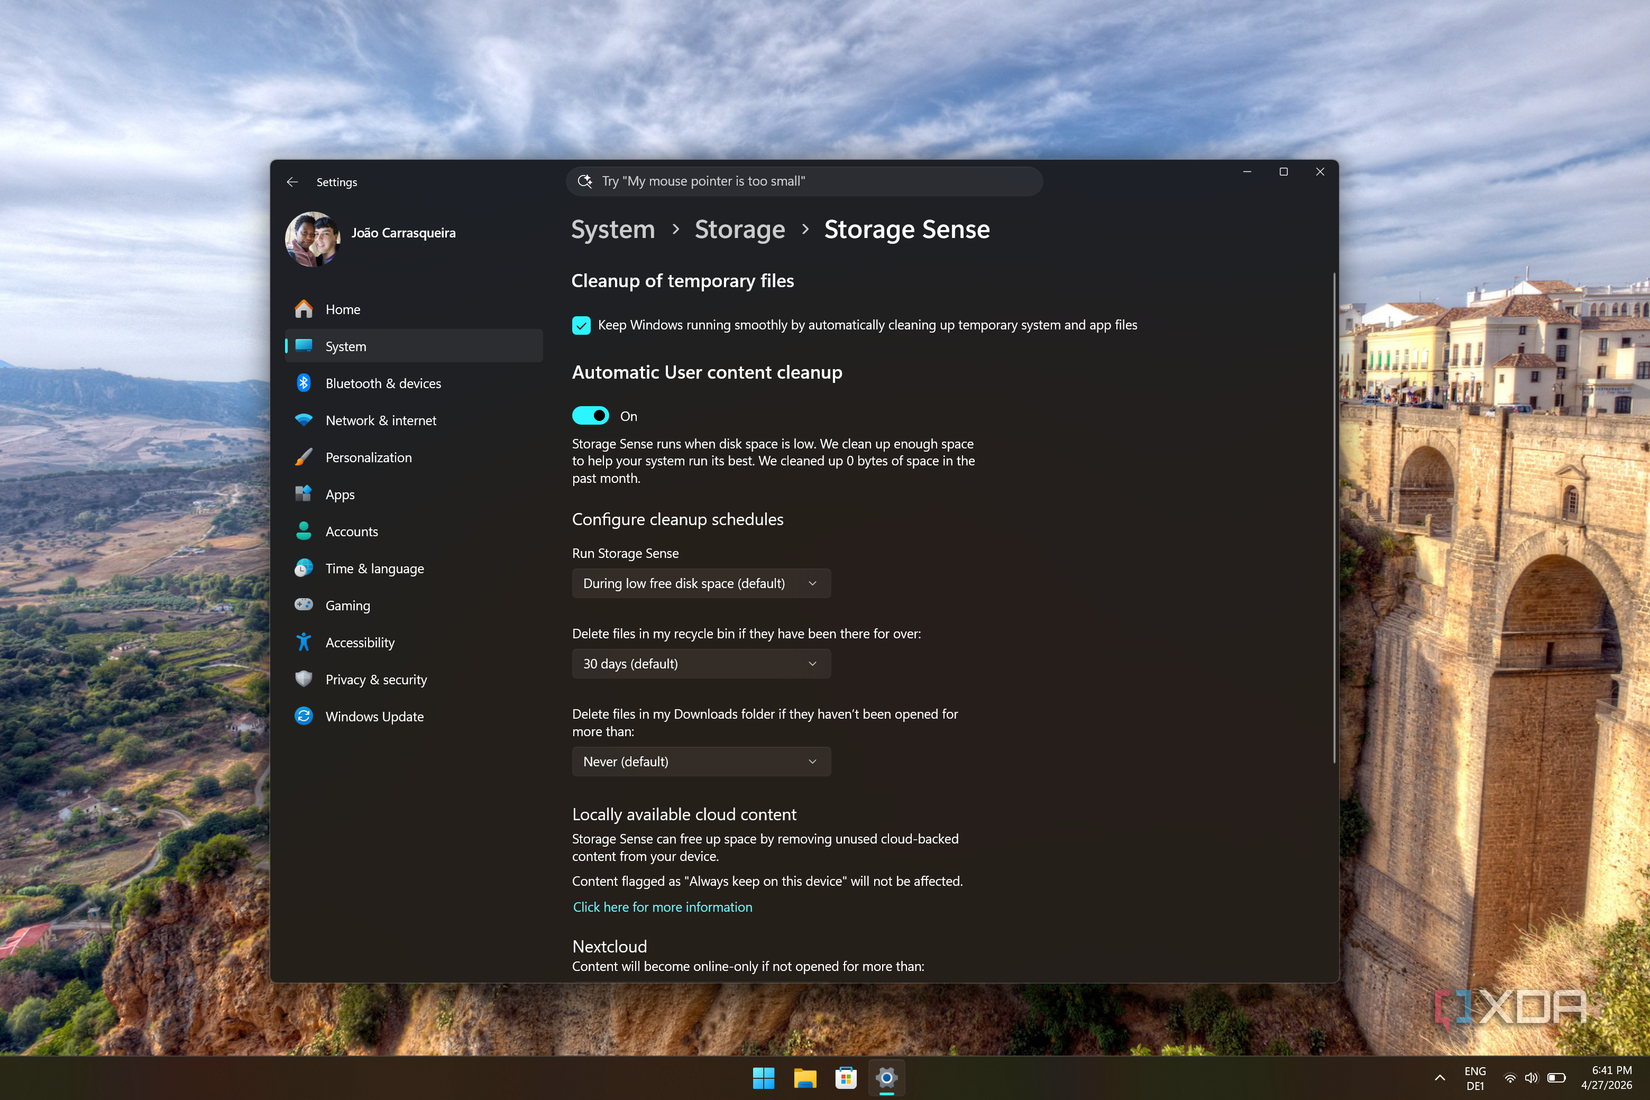
Storage sense will run a cleanup task for these files whenever you’re running out of space, though you can also set this to run more regularly, such as every week or every month. There should be no reason to do it more often than once a month. The whole point of cached files is to make certain things faster, so if you’re constantly deleting it, you’re potentially getting a worse experience without much of a benefit in return.
There’s a separate setting in Storage sense for the Recycle Bin, though, so it can operate on a different schedule, and that makes sense. When you delete a file, it’s almost always going in the Recycle Bin, and those files can add up to a lot of space relatively quickly. And you probably don’t give it much thought once a file has been deleted since it’s out of your sight, but it can make a big difference. Files in the Recycle Bin are automatically deleted after 30 days by default, but you can probably go lower without it making much of a difference. Unless you’re prone to accidentally deleting files and forgetting them, there should be nothing there you really need.
If you’re like me, you’ve probably used your Downloads folder as a bit of a catch-all that never really gets cleaned. Downloaded installers and documents you only needed once pile up and can take dozens of gigabytes after a few months, even if you’re never using those files anymore. These aren’t really “temporary files” in the sense that Windows would define that term, but for a lot of them, they’re things we downloaded and used one time and then never again.
Thankfully, Storage sense helps here, too. While it’s off by default, you can set it to automatically delete files from your Downloads folder if you haven’t used them for a certain amount of time. Here, you can choose to wait up to 60 days, and that’s probably for the better. It’s not like the Recycle Bin where you already assume what’s in there is worthless; the Downloads folder may still have important content, so it’s good to have a buffer so you don’t end up losing important files.
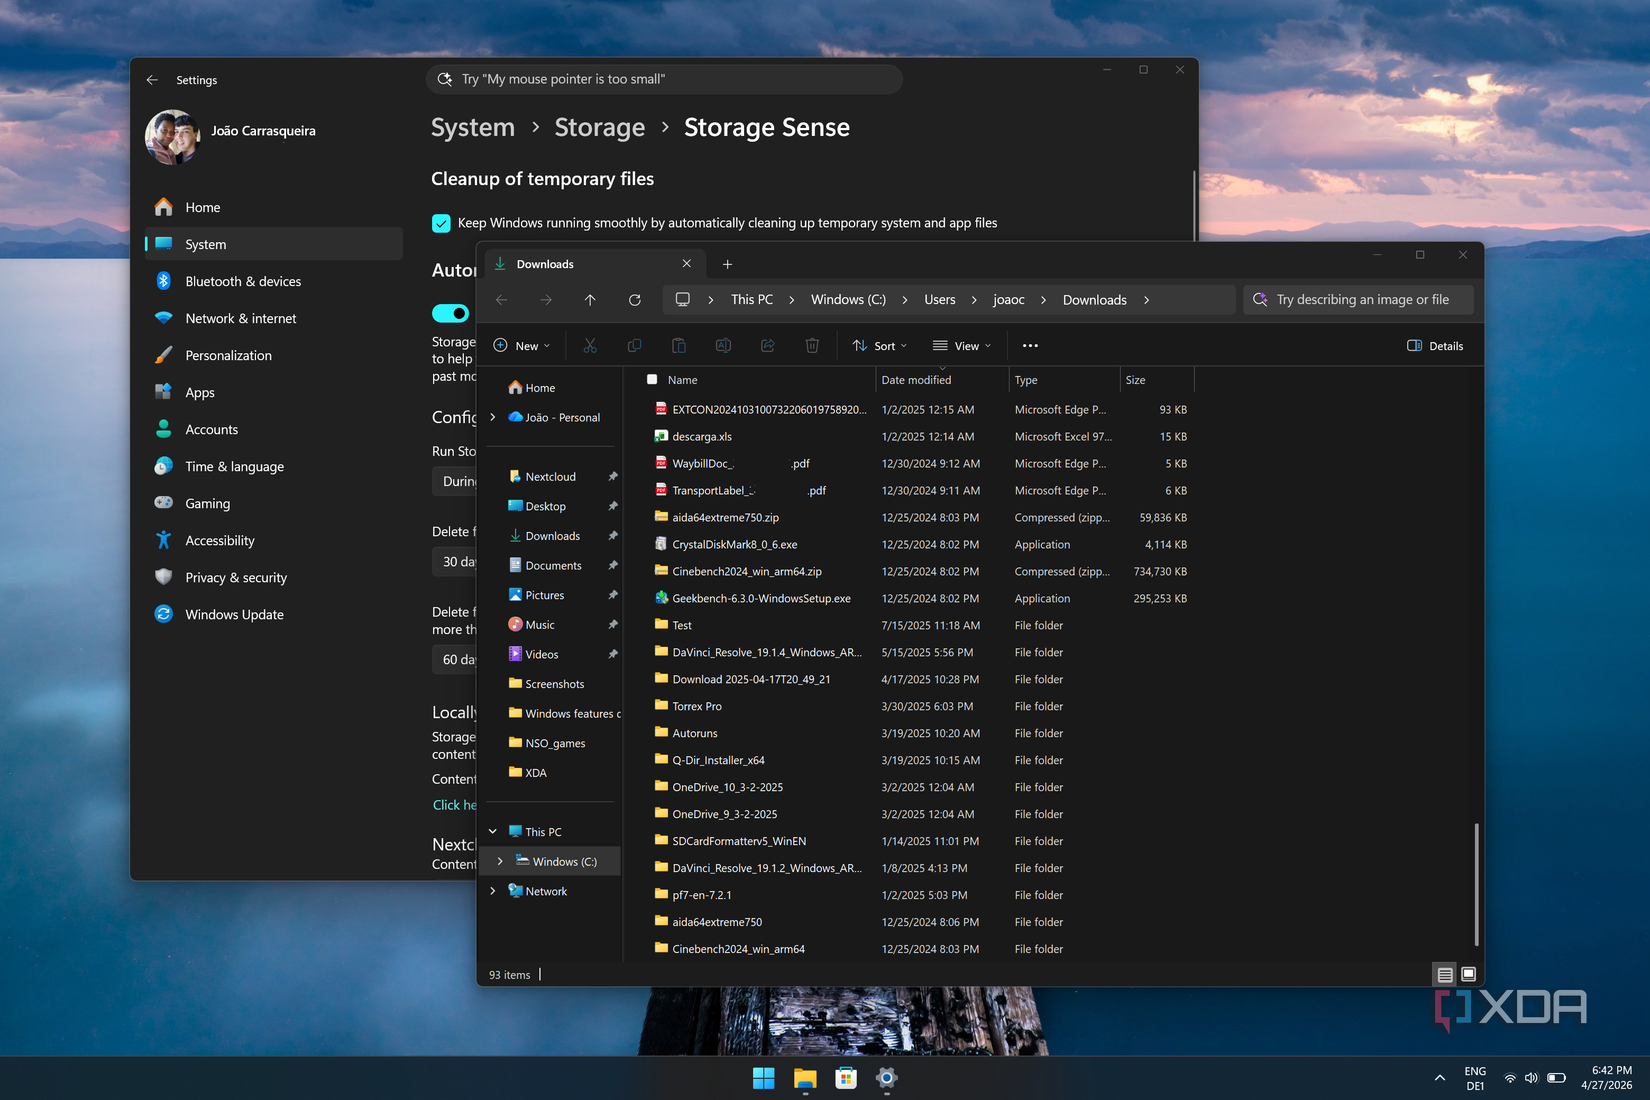
But really, this is possibly the most important aspect of all this because of how easy it is to leave the Downloads folder abandoned and piling up trash. You’ll probably save a ton of space this way, though it does require you to pay more attention to files you might need to keep for longer.
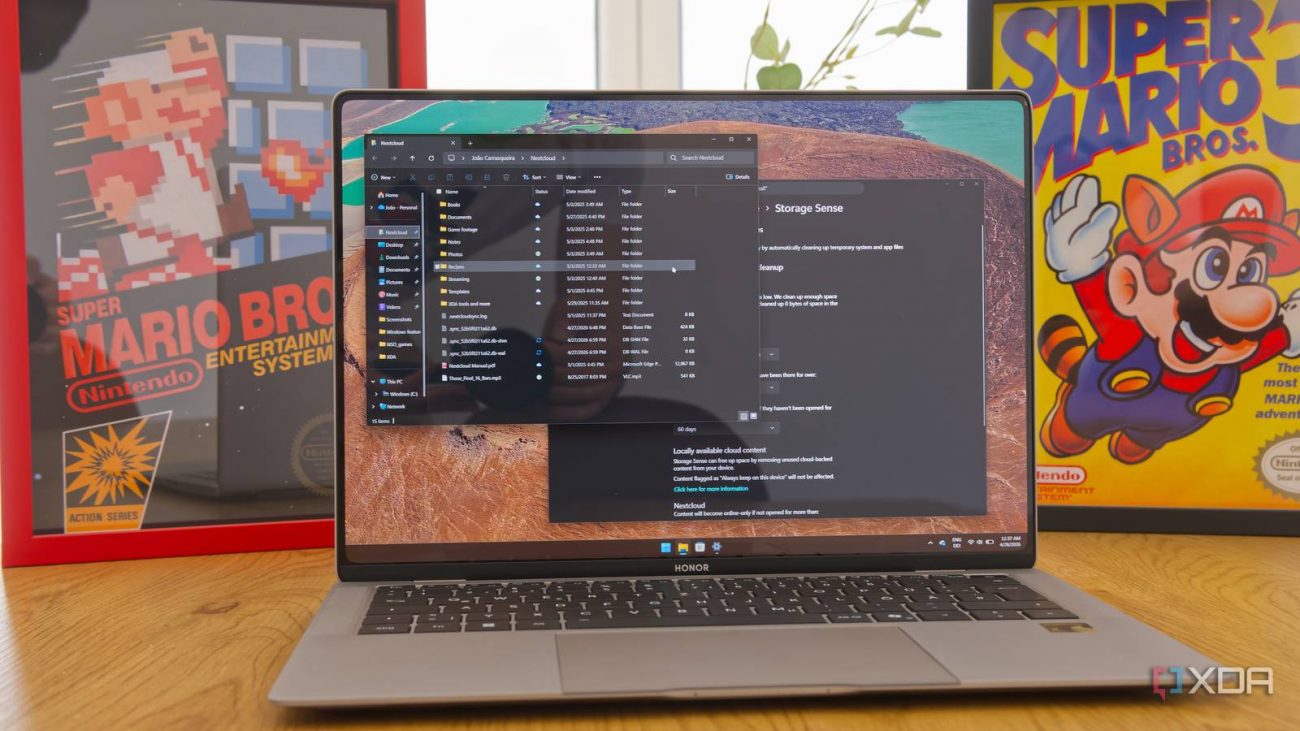
One of the coolest features in Windows 11 is the fact that it can integrate cloud storage services into its UI, so you can browse your cloud files as if they were on your PC, but they don’t actually take up any space until you try to open them, when they get downloaded. This works out of the box with OneDrive, but other similar clients can also support it, and that even includes a self-hosted Nextcloud instance.
There’s only one small problem with this approach: once downloaded, files could stored locally indefinitely until you decide to remove them, and even then, you need to be careful because the usual “delete” action will remove them from your cloud, too. There’s a seaprate action for deleting a local copy of a cloud file.
But this, too, can be automated with Storage sense. In fact, that’s the default behavior. If one of your cloud files has a local copy and you haven’t used it in 30 days, the local copy can automatically be removed, and of course, you can also change this to happen more quickly (or more slowly, if you prefer). And you have extra control over this, too, because if there’s a file you want to keep indefinitely, you can use File Explorer and use the option called Always keep on this device, which will exempt the file from the automatic cleanup done by Storage sense.
Depending on the kinds of files you’re grabbing from the cloud, this can save you a good bit of space, too, and I recommend looking at the default period to see if you’d like them to be deleted faster.
Storage woes are far form uncommon, and with the current prices of hard drives, buying more of it is not really a feasible solution for everyone. Being proactive about your storage usage is more important than ever, and Storage sense plays a very important role here. While it’s enabled by default, it’s a good idea to dive into the Settings app and check to make sure you’re optimizing your storage as much as possible.